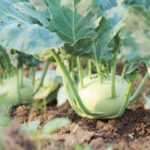
Cabbage (Brassica oleracea) is the main vegetable crop grown during the winter–spring season in the northern, central, and Central Highlands regions.
Cabbage belongs to the group of temperate-origin vegetables. The suitable temperature range is about 1–10°C for 15–30 days, depending on the growth duration of the variety. Therefore, during its growth process, when exposed to these conditions, the plant will flower and set seeds in the first year. Cabbage has a well-developed fibrous root system, which gives it relatively good drought tolerance.
Cabbage seeds germinate best at temperatures of 18–20°C. The plant grows most favorably at 15–18°C.
The suitable soil moisture ranges from 75–85%, with air humidity around 80–90%. Cabbage prefers light loam or sandy loam soils. The most suitable soil is alluvial soil with a pH of 5.6–6.0.
1. Planting Season
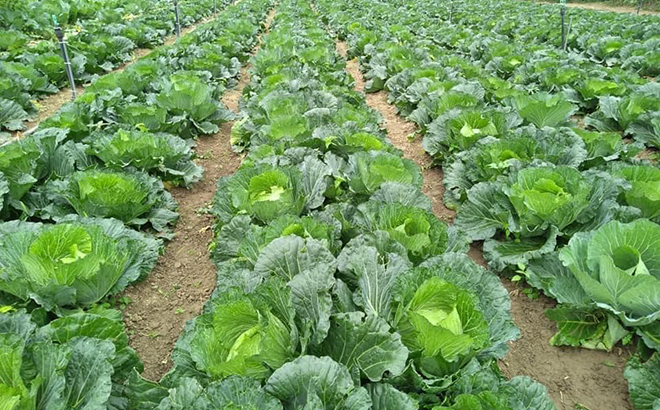
Cabbage prefers long daylight conditions with low light intensity, making it suitable for cultivation during the Winter–Spring season in northern regions. There are three main planting seasons:
- Early crop: Sow in late July to early August; transplant in late August and September.
- Main crop: Sow from September to October; transplant from mid-October to late November.
- Late crop: Sow in November; transplant in mid-December.
2. Raising Seedlings
Before sowing, soak the seeds in warm water at 50°C for 20 minutes, then soak them in cold water for 8–10 hours. Use 1.5–2.0 g of seeds per m².
After sowing, cover the seeds with a 1–2 cm layer of straw, then water thoroughly with a watering can. During the first 3–5 days after sowing, water 1–2 times per day. When the seeds germinate and emerge above the soil surface, stop watering for 1–2 days, then water once every two days.
Remove diseased and off-type seedlings, maintaining a spacing of 3–4 cm between plants. After each thinning, apply diluted well-decomposed manure solution for top dressing. Do not apply nitrogen fertilizer at this stage.
Standard for good seedlings: Round leaf blades, short internodes, sturdy and compact growth. Transplant when plants have 5–6 true leaves.
3. Land Preparation
Suitable soil for cabbage includes light loam, sandy loam, and alluvial soils with light texture, loose structure, high organic matter, and good fertility. Safe cabbage production areas must be located away from wastewater sources and industrial zones. Irrigation and drainage systems must be well controlled.
Ideally, soil should be treated with Trichoderma biological products by mixing them evenly with basal manure according to the manufacturer’s recommendations. If unavailable, apply lime powder at 20 kg per sào (360 m²) or use copper-based fungicides to treat the soil before planting.
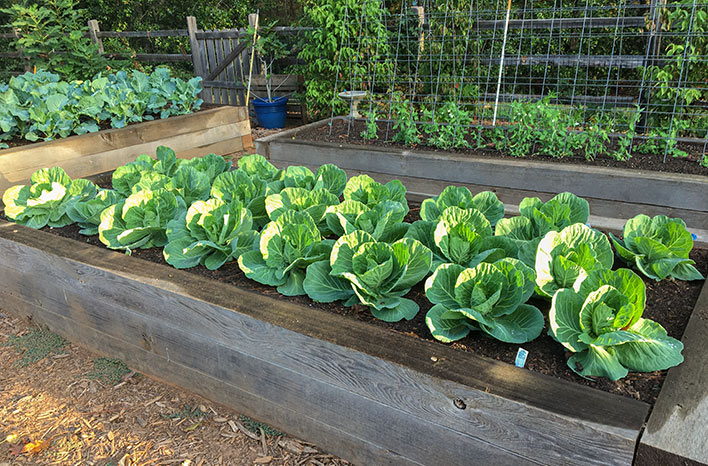
Prepare the soil thoroughly, breaking it into fine tilth, removing weeds and crop residues. Form raised beds 20–25 cm high, with furrows 20–30 cm wide, and bed width of 1.0–1.2 m. Beds should be level and well-drained to prevent waterlogging during heavy rain.
4. Transplanting Techniques
Select healthy, sturdy, and uniform seedlings with round leaves, short internodes, and compact growth. The best time for transplanting is when seedlings have 5–6 true leaves (20–25 days after sowing). Avoid transplanting overly young seedlings, as they may become stunted or die.
Plant in double rows on each bed. Depending on the variety and season, use a density of 30,000–35,000 plants per hectare. Spacing should be 40–50 cm between plants and 60–70 cm between rows. Transplant in the late afternoon if the weather is sunny.
5. Fertilization
Recommended fertilizer amounts per sào (360 m²):
- 900–1,000 kg well-decomposed manure
- 9–11 kg urea (nitrogen)
- 10–15 kg phosphorus fertilizer
- 12–14 kg potassium fertilizer
Alternatively, apply NPK fertilizers equivalent to:
- 4–5 kg N
- 1.5–2 kg P₂O₅
- 7–8 kg K₂O
Application Method
Basal application:
Apply all manure and phosphorus fertilizer + 20% nitrogen + 20% potassium. Spread evenly over the field before bed formation or apply in planting holes after bed preparation. If applying in holes, mix thoroughly with soil before transplanting.
Note: Only use well-composted manure. Never use fresh manure. If composted manure is unavailable, use organic bio-fertilizer as a substitute.
Top Dressing (3 applications):
- 1st application (15 days after transplanting): 20% nitrogen + 20% potassium
- 2nd application (30–35 days after transplanting, rosette stage): 30% nitrogen + 30% potassium
- 3rd application (45–50 days after transplanting, head formation stage): Apply the remaining fertilizer
Apply fertilizer around the base of the plant combined with soil hilling.
6. Crop Care
Irrigation
After transplanting, water thoroughly to help roots establish quickly. Then water 1–2 times daily until plants recover. In the following stage, irrigate every 3–5 days depending on soil moisture.
After the first hilling and top dressing, furrow irrigation can be applied by filling water to 1/3–1/2 of the furrow height, allowing water to infiltrate naturally, then draining it completely. Avoid excessive irrigation, which may cause leaf burn or stem rot.
Important: Use clean water such as unpolluted river water or treated water. Never use fresh manure water or untreated domestic wastewater for irrigation.
Weeding and Cultivation
Each top dressing should be combined with weeding, soil loosening, and hilling around the plant base.
If you would like, I can also format this into a complete technical guide article suitable for publication or training materials.
Notes:
Do not apply urea nitrogen too late or overuse nitrogen fertilizer for cabbage, as this will reduce product quality, increase pest and disease incidence, and pose risks to consumer health. If there is heavy rainfall during the season, reduce nitrogen application while increasing potassium and micronutrients.
After heavy rain, drain excess water from the field as quickly as possible. Once the water recedes, lightly loosen the soil surface and hill up around the plant base. At the same time, stimulate root and leaf development by dissolving 0.2 kg of superphosphate in 10 liters of water to irrigate at the base. Foliar spraying with biological products such as KH, Pennac P, Super Phosphate, etc., can help plants recover quickly and stimulate new root and leaf growth. Combine with spraying fungicides such as Validacin, Ridomil, etc., to limit plant diseases.
7. Pest and Disease Control
Integrated Pest Management (IPM)
Apply integrated pest management measures such as:
- Field sanitation
- Thorough land preparation before planting to destroy eggs, pupae, and larvae of pests and reduce disease sources
- Crop rotation with non-cruciferous crops
- Rotation with paddy rice to limit pest, disease, and weed development
Cutworms
Regularly inspect fields to detect and eliminate cutworms early in the season. Remove egg masses and early-instar larvae (instar 1–2) of armyworms. Use sweet-and-sour bait traps and sticky traps to catch moths. Promptly remove and destroy wilted or damaged plants.
Diamondback Moth
Spray insecticides only when the average density reaches:
- 2 larvae per plant at 2–3 weeks after transplanting
- 3 or more larvae per plant at 4–7 weeks after transplanting
Do not apply specific insecticides for diamondback moth if the pest population has not reached the above thresholds.
Aphids
Both nymphs and adults suck plant sap, causing curled buds and leaves, pale or yellow leaves, and wilting. In addition to direct damage, aphids transmit viral diseases. Hot and dry weather favors aphid development.
Control measures:
- Irrigate and maintain adequate moisture during dry seasons
- Monitor fields regularly to detect early infestations and remove affected plants for destruction
- Use appropriate aphid-specific insecticides when necessary
Diseases
Fungal Rot Diseases:
When symptoms appear, promptly remove and destroy infected plants. Use fungicides such as Score, Ridomil, etc., and spray directly onto infected areas.
Damping-off (Stem Rot at Root Collar):
Infected plants become weak, produce small heads, and may wilt or die. Use products such as Validacin, Anvil, etc.
Note:
Prioritize the use of biological pesticides (microbial and botanical products) according to label instructions. Always observe the required pre-harvest interval before harvesting.
8. Harvesting
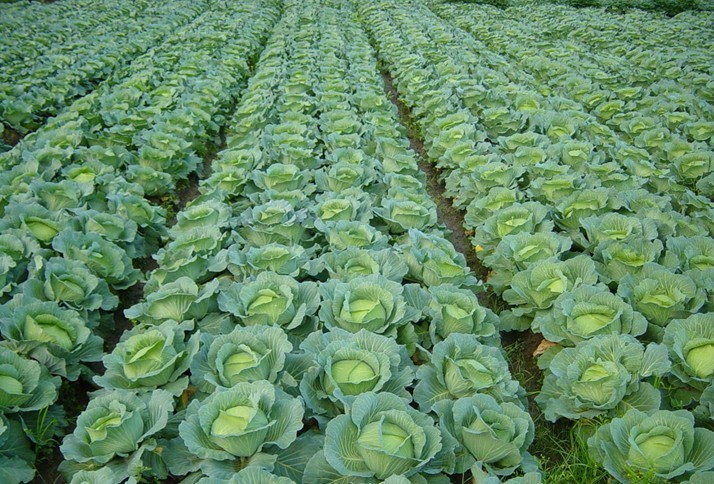
Harvest when cabbage heads are firm and compact, with smooth surfaces and tightly layered leaves. The stem base should turn opaque white, milky white, or ivory yellow. Remove outer and diseased leaves. Do not soak in water and avoid bruising or mechanical damage.